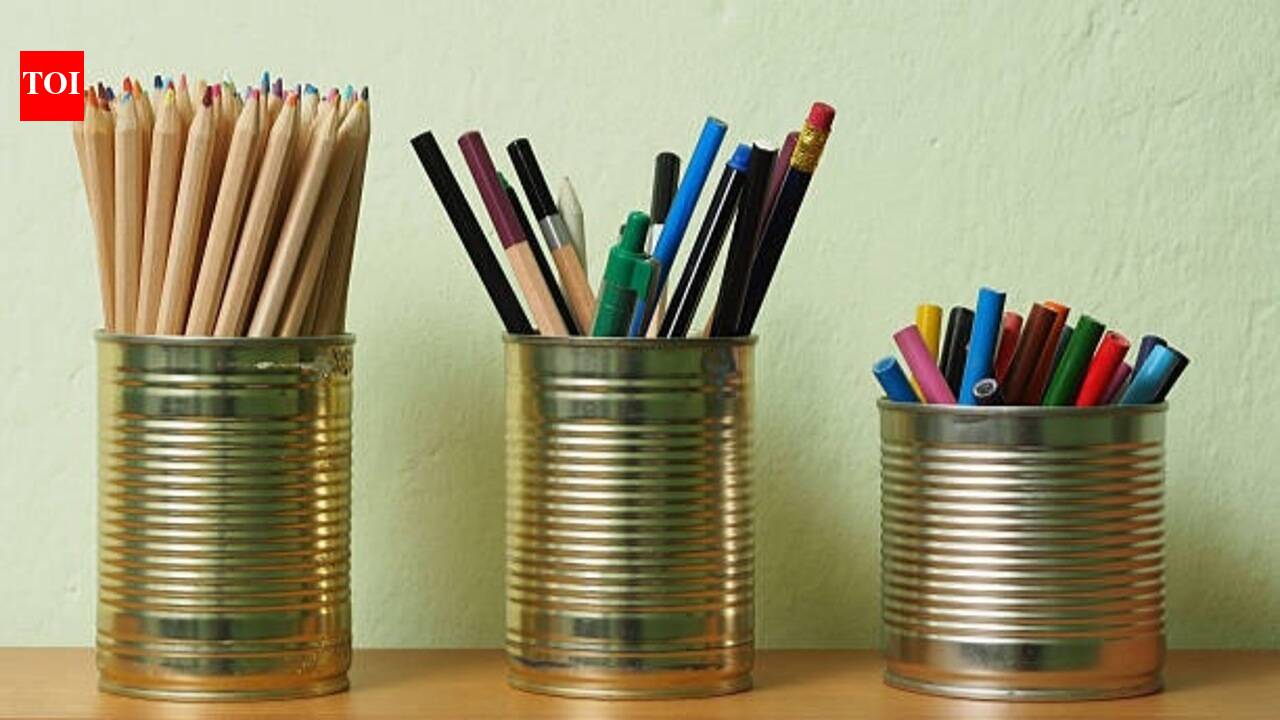
Open the kitchen cupboard and you will probably find a few empty tin cans waiting for the recycling pile: tomato puree, chickpeas, condensed milk, a tub of biscuits. Before they go, take another look. A tin can is already the perfect shape for a pen stand. It is sturdy, tall enough to hold stationery upright and wide enough for a bunch of markers. With a little paint, some fabric or a few bits of craft material, it can become a pretty desk organiser that costs almost nothing. It is also a lovely weekend project to do with children. Here is how to get started, with five easy ideas.
Start with safe, clean cans
Good preparation makes all the difference. Wash the can thoroughly with hot, soapy water and peel off the label. Soak it for a few minutes if the glue is stubborn, then rub off any sticky patches with a little cooking oil. Check the top rim carefully, since cut edges can be sharp. Press down any rough spots with pliers, or cover the rim with strong tape, ribbon or a strip of felt. Dry the can fully before decorating, so that paint and glue stick well. Children should always have an adult handle the can and check the edges.
The simple painted can
This is the easiest way to begin. Rub the outside of the can lightly with sandpaper so the paint grips. Apply a coat of primer if you have it, then paint the can in any colour you like. Acrylic paint works well, and two thin coats look neater than one thick one. Once dry, add polka dots, stripes or your child’s name with a fine brush or paint pen. A coat of clear varnish keeps the colours bright and stops the paint from scratching off.Fabric or paper wrapped cansIf you do not enjoy painting, wrapping is an easy alternative. Cut a piece of old fabric, a scrap of saree border, wrapping paper or even a page from a pretty magazine, and glue it around the can. Fold the edges neatly at the top and bottom. Fabric with small prints looks lovely, and leftover cloth from tailoring can find a happy second life this way. Seal the outside with a thin layer of glue mixed with water for a smooth, protective finish.
Jute and twine for a rustic look
For a warm, handmade look, wrap thick jute rope or twine around the can. Put glue on a small section, press the twine down, and keep winding it closely, tucking the ends in at the bottom. You can leave it plain or add a bow, a few buttons or a dried flower for a delicate touch. This style suits a study table or a shelf with natural wood, and it also helps hide any dents or marks on an older can.
A set of matching cans for different uses
Instead of one pen stand, make a small set in different sizes. Use a tall can for pens and rulers, a medium one for pencils and markers, and a small one for paper clips, erasers and sharpeners. Paint them all in the same colour scheme and glue them together side by side, or fix them onto a wooden board or thick cardboard base. This turns your desk into a neat little station, and the whole thing looks planned and pretty rather than scattered.
Personalised gifts and teacher’s day specials
A decorated can makes a thoughtful gift, especially for teachers, grandparents or friends starting a new job. Add the person’s name, a favourite quote or a small drawing on the front. Stick a few photographs, stickers or paper cut-outs around it, and tie a ribbon at the top. Fill it with a few fresh pens and a handwritten note, and you have a present that feels warm and personal. It costs a fraction of what you would spend in a shop, and the recipient will remember the effort.Disclaimer: This article is for general informational and creative purposes only. Results may vary depending on the materials, paints and tools used. Empty metal cans can have sharp edges, so please handle them carefully, smooth or cover cut rims, and keep scissors, craft knives and hot glue guns away from young children. Use child-safe paints and glues where needed, and supervise children during the project.